

------------
Doing a fork seal replacement can be very messy. It’s a good idea to start off with a clean work area: Smokes are optional. This is sort of a revised version, so I'm going to take it from after the tire is off. That should suffice.
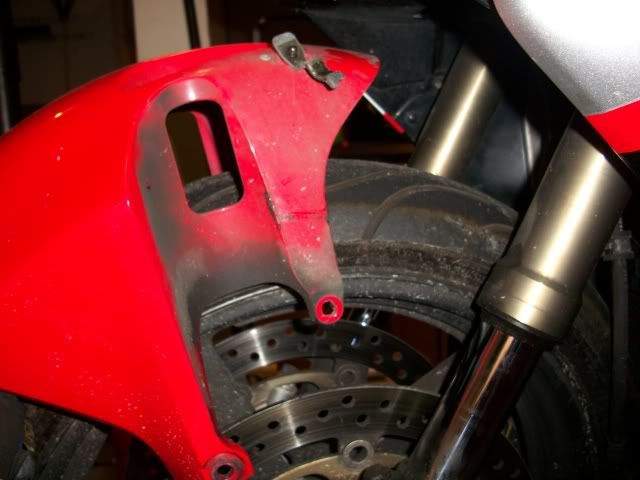
Once you have removed the tire, set it in a safe place keeping in mind all the collars, washer, axle and bolt placement.
Take out all bolts holding the fender on the forks as well as any bolts holding brake line. Remove the Fender:
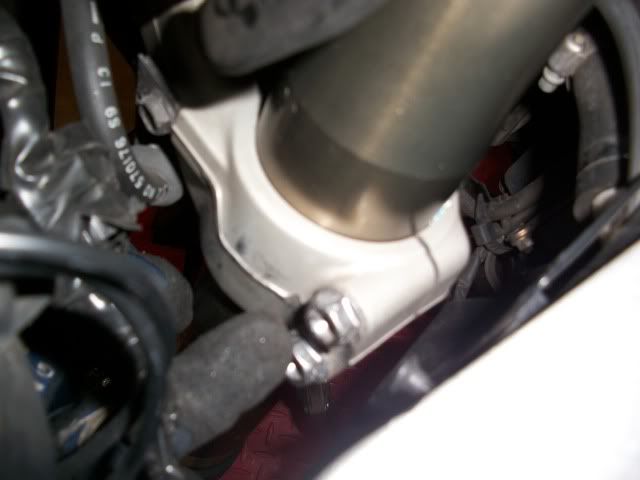
Loosen all the pinch bolts holding the forks. There are two on the lower section of the tree, one on top and one holding the clip-ons.
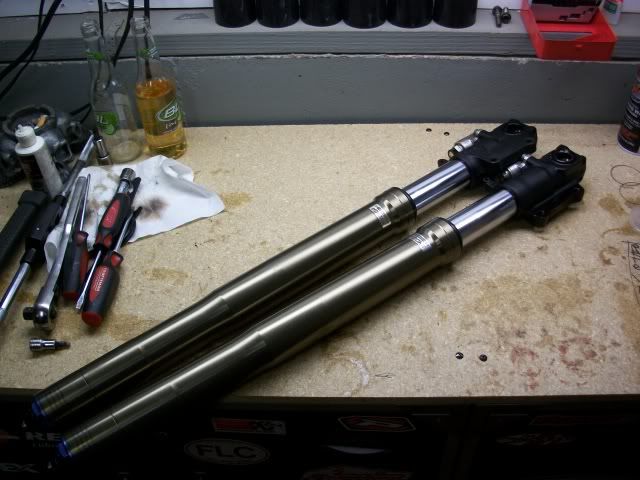
The forks should now slide out pretty easily. If you have problems, loosen the pinch bolts more on the clamps and tap lightly on the BOTTOM of the fork with a dead blow hammer. This will free up the fork from its stuck position.
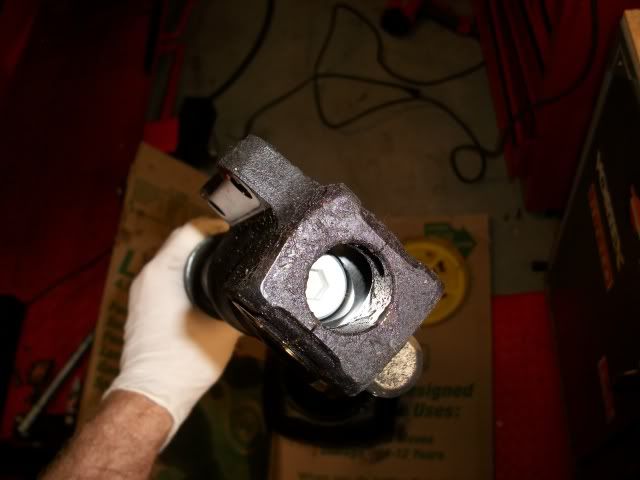
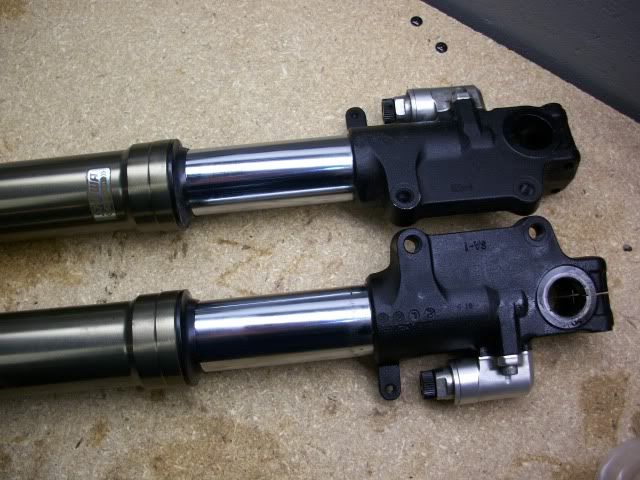
Once the Forks are out, identify the bolt from the bottom of the fork. If you have not already removed the pinch bolts, like I told you to, do that now. Once the pinch bolts are out, you can put a hex on the bolt. It is MUCH better to have a hex socket as opposed to an allen key. Much better leverage. I’ve found that using an impact wrench can save you A LOT of trouble on this. You need to be careful NOT to use a hex that is ‘ball’ rounded,. The round hex can strip the hell out of the bolt. I know from experience.
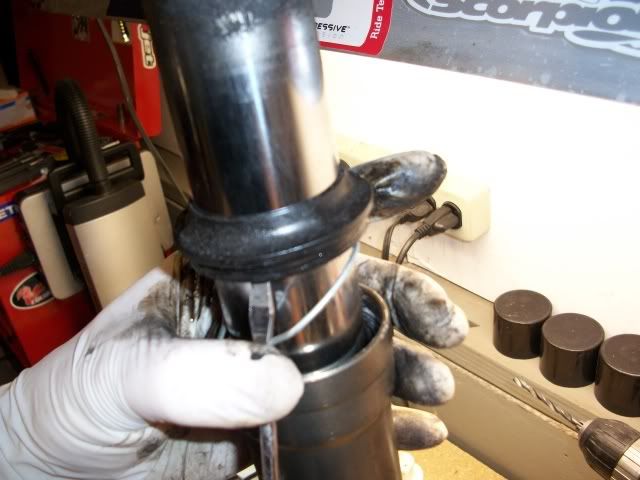
Once the bolt is out, drain all the fluid out. This can get messy. Once the fluid is out, you can remove the dust seal using a small screwdriver.
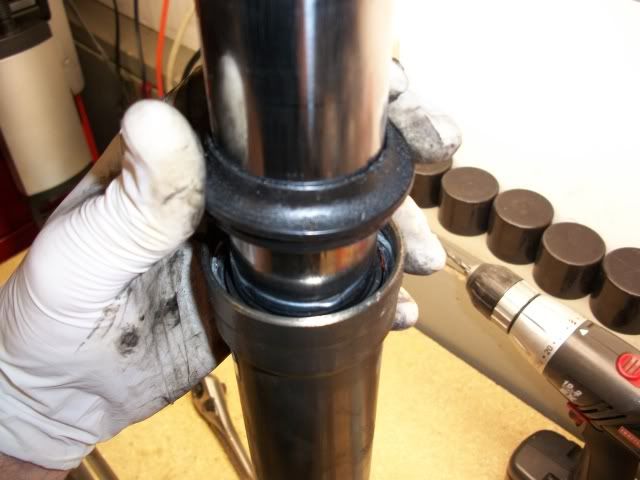
Then remove the Fork seal retaining ring. Use a small screwdriver to get the ring out of its slot. It will then easily slide up and out.
Once the ring is out, you can now remove the Fork Seal. I’ve found that the easiest way is to grab the shiny part (for all intensive purposes) and the bottom part and pull them apart. The shim below will pull the seal out. When you get it out, make SURE that you notice the order of things. Lay them on a clean towel in the order that they come off and the side up or down that they come off. Here’s the order:
Dust cap, Fork seal retainer, Fork Seal, Washer, Bushing.
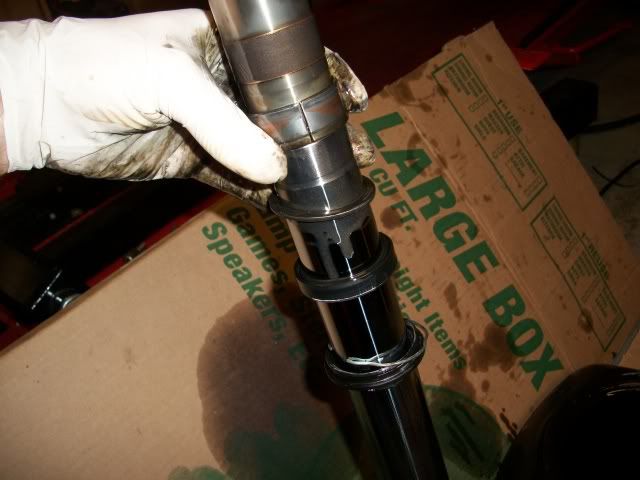
Once you get them out, make sure that the bushings don’t get lost. This is on the end of the shiny parts inners. These little bastards have a way of getting lost. Make SURE that you have each accounted for. A good way to keep them in place is with a coating of grease:
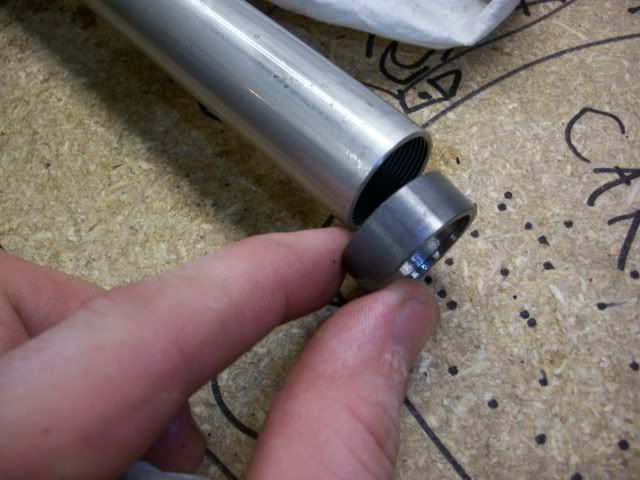
This is the best opportunity to clean these dingy damn things, so do it now!
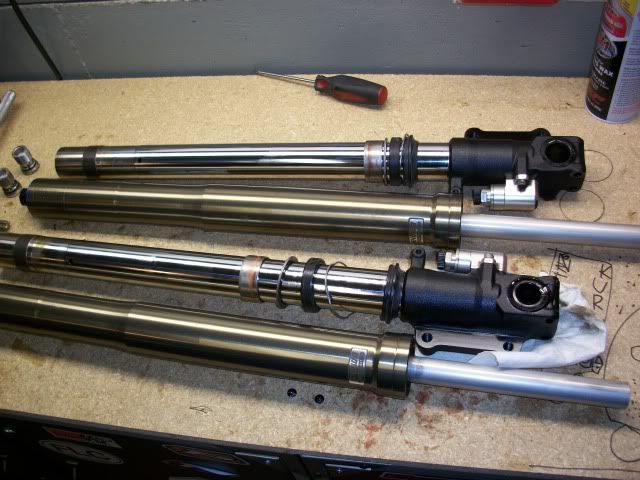
The forks go back together in the reverse order. If you don’t have fork seal drivers, you can use PVC pipe. With the RC51 (as with most modern sportbikes) the forks are upside down, so you need to cut the PVC in half to use them. Make sure that you replenish the oil in your tubes before reassembly. The ending product is VERY good looking:
The last thing: When you put your brake calipers back on, there are two VERY IMPORTANT THINGS THAT YOU MUST DO!!!
1: Put locktight on the bolts holding the calipers to the forks.
2. More often than not, you need to expand your brake pads to get the calipers back on to the Discs. This creates a gap obviously, so make sure you pump your brakes until pressure builds back up. Or you could be in for a nasty surprise the first time that you go for a test ride. (I know this from experience)
Once you have removed the tire, set it in a safe place keeping in mind all the collars, washer, axle and bolt placement.
Take out all bolts holding the fender on the forks as well as any bolts holding brake line. Remove the Fender:
Loosen all the pinch bolts holding the forks. There are two on the lower section of the tree, one on top and one holding the clip-ons.
The forks should now slide out pretty easily. If you have problems, loosen the pinch bolts more on the clamps and tap lightly on the BOTTOM of the fork with a dead blow hammer. This will free up the fork from its stuck position.
Once the Forks are out, identify the bolt from the bottom of the fork. If you have not already removed the pinch bolts, like I told you to, do that now. Once the pinch bolts are out, you can put a hex on the bolt. It is MUCH better to have a hex socket as opposed to an allen key. Much better leverage. I’ve found that using an impact wrench can save you A LOT of trouble on this. You need to be careful NOT to use a hex that is ‘ball’ rounded,. The round hex can strip the hell out of the bolt. I know from experience.
Once the bolt is out, drain all the fluid out. This can get messy. Once the fluid is out, you can remove the dust seal using a small screwdriver.
Then remove the Fork seal retaining ring. Use a small screwdriver to get the ring out of its slot. It will then easily slide up and out.
Once the ring is out, you can now remove the Fork Seal. I’ve found that the easiest way is to grab the shiny part (for all intensive purposes) and the bottom part and pull them apart. The shim below will pull the seal out. When you get it out, make SURE that you notice the order of things. Lay them on a clean towel in the order that they come off and the side up or down that they come off. Here’s the order:
Dust cap, Fork seal retainer, Fork Seal, Washer, Bushing.
Once you get them out, make sure that the bushings don’t get lost. This is on the end of the shiny parts inners. These little bastards have a way of getting lost. Make SURE that you have each accounted for. A good way to keep them in place is with a coating of grease:
This is the best opportunity to clean these dingy damn things, so do it now!
The forks go back together in the reverse order. If you don’t have fork seal drivers, you can use PVC pipe. With the RC51 (as with most modern sportbikes) the forks are upside down, so you need to cut the PVC in half to use them. Make sure that you replenish the oil in your tubes before reassembly. The ending product is VERY good looking:
The last thing: When you put your brake calipers back on, there are two VERY IMPORTANT THINGS THAT YOU MUST DO!!!
1: Put locktight on the bolts holding the calipers to the forks.
2. More often than not, you need to expand your brake pads to get the calipers back on to the Discs. This creates a gap obviously, so make sure you pump your brakes until pressure builds back up. Or you could be in for a nasty surprise the first time that you go for a test ride. (I know this from experience)
No comments:
Post a Comment